Category: 2.NEW Testament
-
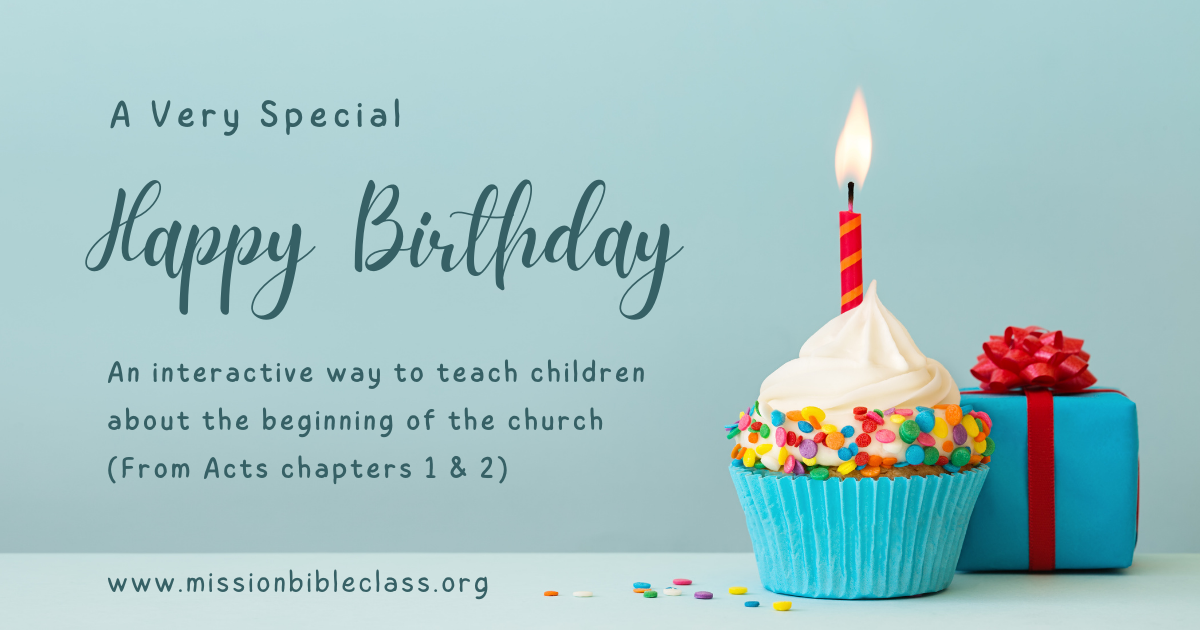
A Very Special Happy Birthday
Every child can relate to the idea of a birthday party. Try this interactive story-telling method to help children celebrate the beginnings of the church. Background: The “birth” of the church was long-anticipated and expected. From the beginning chapters of Genesis and onwards, we read how God, the Father, worked out a plan to redeem…
-
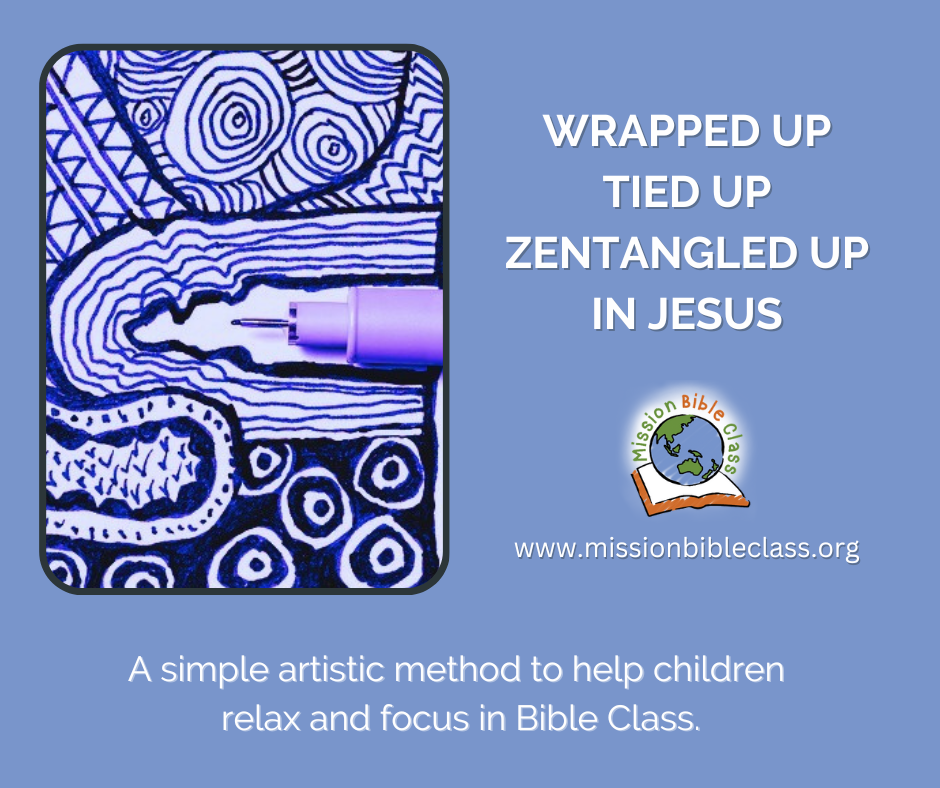
Wrapped Up, Tied Up and Zentangled Up in Jesus
Recently a group of children got me tangled up in something new. I was teaching a small group of 9-12 year olds on Sunday mornings for Bible class. I asked the children what ideas they had for helping us learn. Their suggestions are what led us to begin “tangling” in Bible Class. I had first…
-

I Say L.O.V.E
—
by
in 01. Birth of Moses, 02. Jesus Blesses the Children, 03. Healing of Man By the Pool, 04. Paul’s Trial, 05. Paul’s 2nd Missionary Journey, 06. Elisha and Widow’s Oil, 06. Paul Writes Letters from Prison, 08. David Helps Mephibosheth, 10. Dorcas Raised from the Dead, 10. Jonah and the Big Fish, 10. The Chapter of Love, 11. Cornelius Becomes a Christian, SongsHave you ever had a song stick in your head and refuse to go away? This week a friend of mine shared a song with me that has done exactly that. The song is not fancy. It only has six words. It is a teacher training video and not a performance for the Grammy Awards. …
-
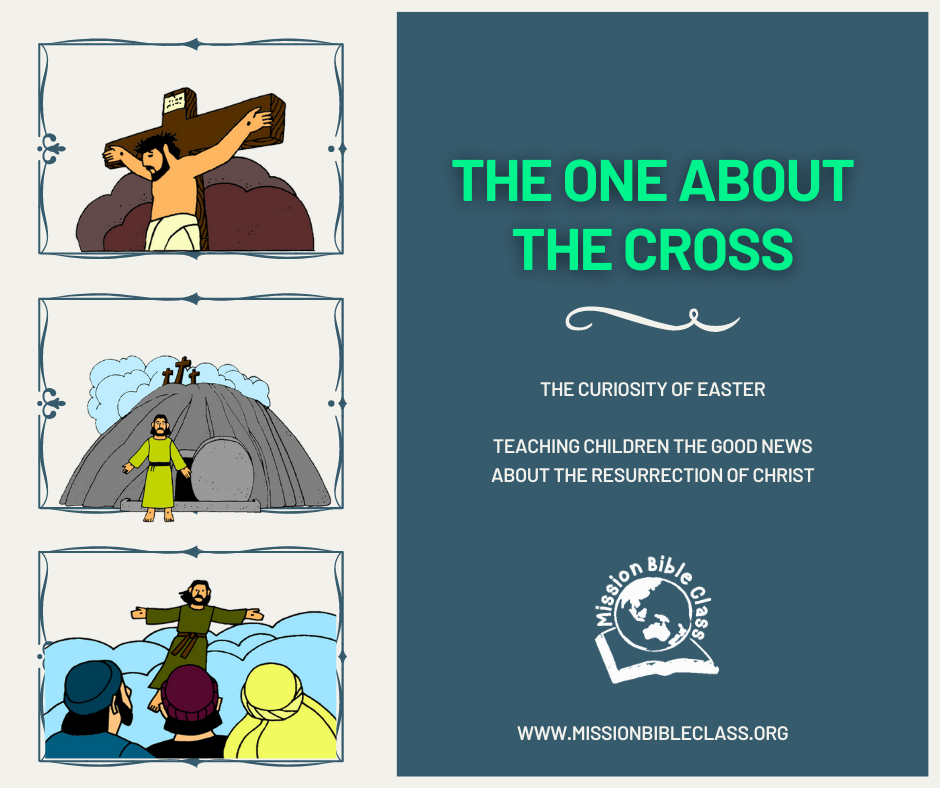
The One About the Cross
“Teacher, when you tell stories, do you think sometimes you could tell me the one about the cross. I keep wondering what that cross is about.” I will never forget that question from a little boy who attended church and my Bible class for the first time.