image_pdfimage_print

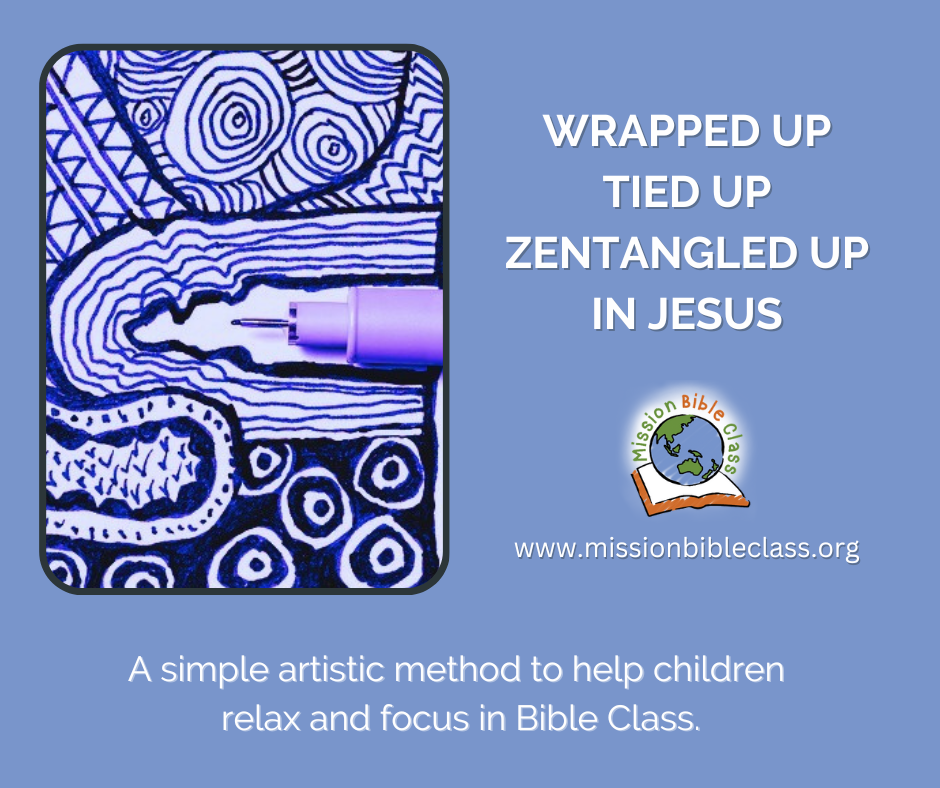
Wrapped Up, Tied Up and Zentangled Up in Jesus

Recently a group of children got me tangled up in something new.

I was teaching a small group of 9-12 year olds on Sunday mornings for Bible class.  I asked the children what ideas they had for helping us learn.   Their suggestions are what led us to begin “tangling” in Bible Class.

I had first been introduced to the idea quite some time ago but I had not thought of using it for my Bible class.  After learning a bit more about it I realised that the children were “on to something”.

Zentangle is a method of drawing that is so simple and repetetive that it frees your mind up to relax and focus. Doodling is more freeform and flowing but Zentangle usually follows patterns.

Don’t make the same mistake I did and think that Zentangle is somehow related to “Zen Buddhism”.   As I learned more I found out that it is actually an artistic method created by Rick Roberts and Maria Thomas.  They describe the actual process of drawing “tangling”.  They added the word “zen” to describe the calm effect tangling produces as you do it.
You can read more about how it began here.

How We Tangled in Our Class

Since we working our way through some great Old Testament lessons from the Tower of Babel all they way through the Life of Joseph I wanted to emphasise “FAITH”

Abraham, Isaac, Jacob and Joseph had great faith.

Here’s What We Did

  1. Prepared a Poster:
    The children could have draw their own letters but, for this first attempt, I decided to pre-print the word FAITH on a paper using big letter outlines.  I searched for a suitable font and found one similar to Janda Manitee Bubble .  Create your own or use this one in A4 size or this one in letter size (USA)
  2. Drew a free-flowing grid to create drawing spaces:
    The tangle designs can be done inside the letters or outside, in the white space.  I decided to go with the white space outside the letters.
    To help the children get started I went ahead and drew out a wavy sort of grid so they would immediately see the small areas to add designs to. By doing this free-hand I was able to create a totally unique pattern for each child.
  3. Provided each child with a pen:
    People take Zentangling to all sorts of levels and spend lots of money on special paper and pens.  In our case I just handed each child a fine line black pen.  We used fine line Sharpee pens.
  4. Started tangling:
    Each child selected a FAITH poster and began filling each of the “squares” with a unique design. As we all “tangled” we talked about faith. We weren’t about finishing the project by the end of class.  We just set them aside to be picked up and continued the next time we met.

What I learned about using Zentangle in Bible class

  1. Amazingly, this method really did bring calm to the classroom.
  2. Fidgeters stopped fidgetting and were able to draw and participate in conversation all at the same time.
  3. The conversation while tangling flowed naturally.  The children were relaxed and calm and just chatted about what faith meant in their lives and then about life in general. Even shy children contributed to the conversation since they did not feel undo attention was on them.
  4. I provided some patterns that I found online but the children in my class were quite happy to come up with their own designs.

Links to Videos and Patterns:

I wasn’t concerned with following strict guidelines for Zentanglel so I was able to find lots of patterns and examples online.  A simple online search for “zentangle” will lead you to a number of different examples.  Here are a few simple ones that I found.

And just for fun I’ll leave you with the song that I couldn’t get out of my head while writing this post!!

Lyrics:

I’m all wrapped up, all tied up, all tangled up in Jesus.
I’m all wrapped up, all tied up, all tangled up in God.
I’m all wrapped up, all tied up, all tangled up in Jesus.
I’m all wrapped up, all tied up, all tangled up in God.

Same-Same But Different

For a number of years I have been collecting songs to add to http://www.missionbibleclass.org My hope has always been that Bible class teachers who would like to learn new songs can watch and listen to the videos over and over until they have mastered them.

Hearing Christian songs sung in different countries often reveals some interesting variations to what I have been singing the same way for years. In these last couple of days some wonderful Christian women allowed me to video them singing songs to upload to my website. I hope other teachers in Thailand will appreciate listening to them and learning new songs to sing with children.

I thought you might enjoy listening to the Thai version of a couple of old favourites.

More songs here.

I Have Skeletons in My Closet

flickr CC cookiejan_2939715465I have to be honest, Halloween is not exactly my favourite holiday.  But one thing I really like about it is what happens afterwards.  After the big rush (and sometimes even before) there are all sorts of skeletons on sale!

Why is this a good thing, you might ask?  Why would I need to stock up on skeletons and stow them away in my closet?

It’s simple…I’m a Bible teacher!

Ezekiel and the Valley of Dry Bones

Bones and skeletons are great visual aids and conversation starters for the story of Ezekiel and the Valley of Dry Bones from Ezekiel 37:1-14.

I love to tell this story of hope.  This vision has the vital elements needed for a dramatic story.  The kids love the “creepy” image of dry bones lying all over a valley.  They can relate to how Ezekiel must have felt when the bones began rattling and coming together.  Tendons and flesh formed on them and finally God breathed his spirit into them.  If Ezekiel was hopeless because his people were in captivity he could finally understand how God had the power to bring a nation back to life.

Teaching Items in Post-Holiday Sales Bins

As a teacher I am always on the lookout for items that will help me share God’s Word in ways children can best relate to.  No one has to spend a lot of money or buy new things to teach children about God.  But if you live in a place where after-holiday sales provide extremely cheap items then this may be a great opportunity.  What are the holidays where you live?

After Christmas

  • Creche and manger scenes (angels, wise men, animals, Joseph, Mary, Jesus, the manger itself), pictures of Jesus as a baby, stars and spices like the wise men brought.  The obvious uses are for stories such as The Birth of Jesus and Wise Men and a Star.
  • Gaudy plastic strings of gold and silver garland can make great “treasure” when you later tell the Parable of a Treasure & a Pearl.
  • Greenery, artificial trees, candles and even twinkling lights bought in after-Christmas clearance sales really come in handy for costumes and acting out Bible stories later on.
  • You’re going to enjoy pulling twinkling lights out of storage when you tell the story of  Jesus Teaches about Salt and Light.

After Valentines Day

After Easter

  • This is the obvious time to find things like books and figurines to help you later tell the story of the Burial and the Resurrection of Jesus.
  • Since I teach infants and toddlers I sometimes use the little wind-up bunnies when I teach about Day 6-God Created Animals & People.
  • And I like to have a few plastic eggs on hand throughout the year so I can put verses or pictures inside and let the children hunt for them.  They are also great for telling the story of death, burial and resurrection of Jesus with Resurrection Eggs.

 After Halloween

After Thanksgiving

  • We can give thanks throughout the year so I’ve sometimes used items on sale after this holiday to teach stories such as Jesus Heals Ten Lepers.
  • And all of plastic fruit comes in handy for teaching about The Fruit of the Spirit.

Happy Teaching!

Teaching Alongside the Creator

Teaching with the Creator

In the rush to find scissors and glue we should not neglect the natural supplies God has provided as teaching resources.

We do not teach alone.  We join the Master Teacher, the Creator, who is already using his creation to draw people to Himself:

The heavens declare the glory of God;
the skies proclaim the work of his hands.
Day after day they pour forth speech;
night after night they reveal knowledge.
They have no speech, they use no words;
no sound is heard from them.
Yet their voice goes out into all the earth,
their words to the ends of the world. (Psalm 19:1-4, NIV)

and…

For since the creation of the world God’s invisible qualities—his eternal power and divine nature—have been clearly seen, being understood from what has been made, so that people are without excuse. (Romans 1:20, NIV)
 

A student I supervise, Cristy, recently encouraged a group of teachers to bring God’s teaching resources into our classrooms.  Cristy sent a group of teachers outside the building to find and bring back items that teach about God.  (She only allowed them 3 minutes!).

Here are the types items these teachers found:

We thought this might be more of a challenge when we taught the same workshop in Metro Manila (Philippines).  The church building we were in was surrounded by a parking lot devoid of plants and next to a busy street.  Still, when Cristy sent the teachers out they quickly adapted and came back with a wonderful collection of both natural and other teaching items including items such as:

Pointing out God’s creation when we teach brings a profound richness into what we are sharing.  In the years to come children may forget a picture used for illustration or a worksheet.  But, for the rest of their lives they will continue to see leaves and stones and soil.  Connecting these things with spiritual lessons now will mean that the lessons will be reinforced over and over.

I can just imagine the future when one of my students, as an elderly person, picking up a stone and telling his or her grandchild about how the stone was rolled away from the tomb.

I want to teach with the Creator!