Tag: Jesus
-
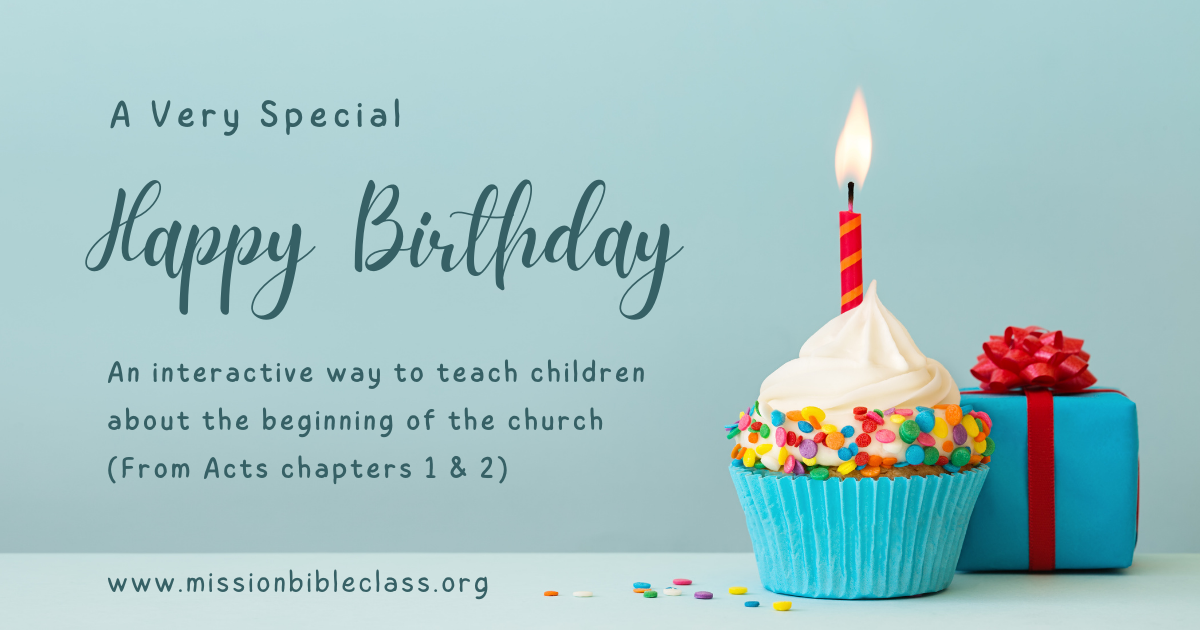
A Very Special Happy Birthday
Every child can relate to the idea of a birthday party. Try this interactive story-telling method to help children celebrate the beginnings of the church. Background: The “birth” of the church was long-anticipated and expected. From the beginning chapters of Genesis and onwards, we read how God, the Father, worked out a plan to redeem…
-
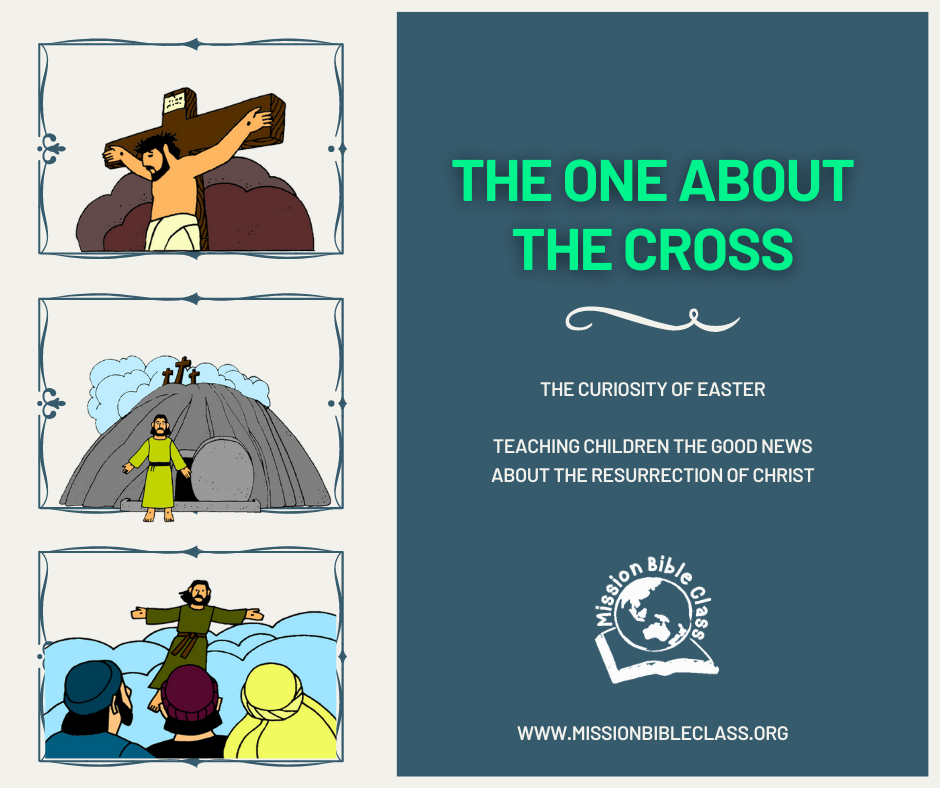
The One About the Cross
“Teacher, when you tell stories, do you think sometimes you could tell me the one about the cross. I keep wondering what that cross is about.” I will never forget that question from a little boy who attended church and my Bible class for the first time.
-

25 Ways to Teach Children About the Resurrection of Jesus
Many teachers are making plans to tell the resurrection story on Easter Sunday. Whether at Easter or any other time here are some ideas that will help you share what is the most important event in the Bible. “For we know that since Christ was raised from the dead, he cannot die again; death no…
-
The Best Gift
My youngest grandson turned four years old this week. Before opening his gifts there was much curiosity about what was inside each one. If he had not been such a busy four year old he would probably have guessed what was inside by simply listening to all the clues that were floating around among the…
-
Oh, Baby!
After a long delay between lessons the “My Friend Jesus” series for Babies and Toddlers is now complete. Hopefully, it will help parents and teachers share the story of Jesus with little ones. In this series infants and toddlers are introduced to Jesus and relate to him through various common experiences of childhood (celebration, helping,…